


The bad news about frozen pipes is that they rarely leak where they freeze. Water expands as it turns to ice, pressure builds up between the ice plug and a closed faucet, and the pipe splits somewhere downstream. You often don't find out until the thaw, when that split starts pouring water into a wall or ceiling.
The good news is that a freeze is one of the most preventable problems in your house. An afternoon of work in the fall handles most of it. Here's the checklist I'd run at my own place, in the order I'd do it.
Your outdoor faucets — hose bibs, or spigots — are the single most common place pipes freeze, because the water sitting in them is closest to the cold. Draining them takes ten minutes and costs nothing.
For each outdoor faucet:
You don't need to wrap every pipe in the house. Focus on the ones running through unheated space: the garage, the crawl space, an unfinished basement, the attic, or an exterior wall. Those are the ones that freeze.
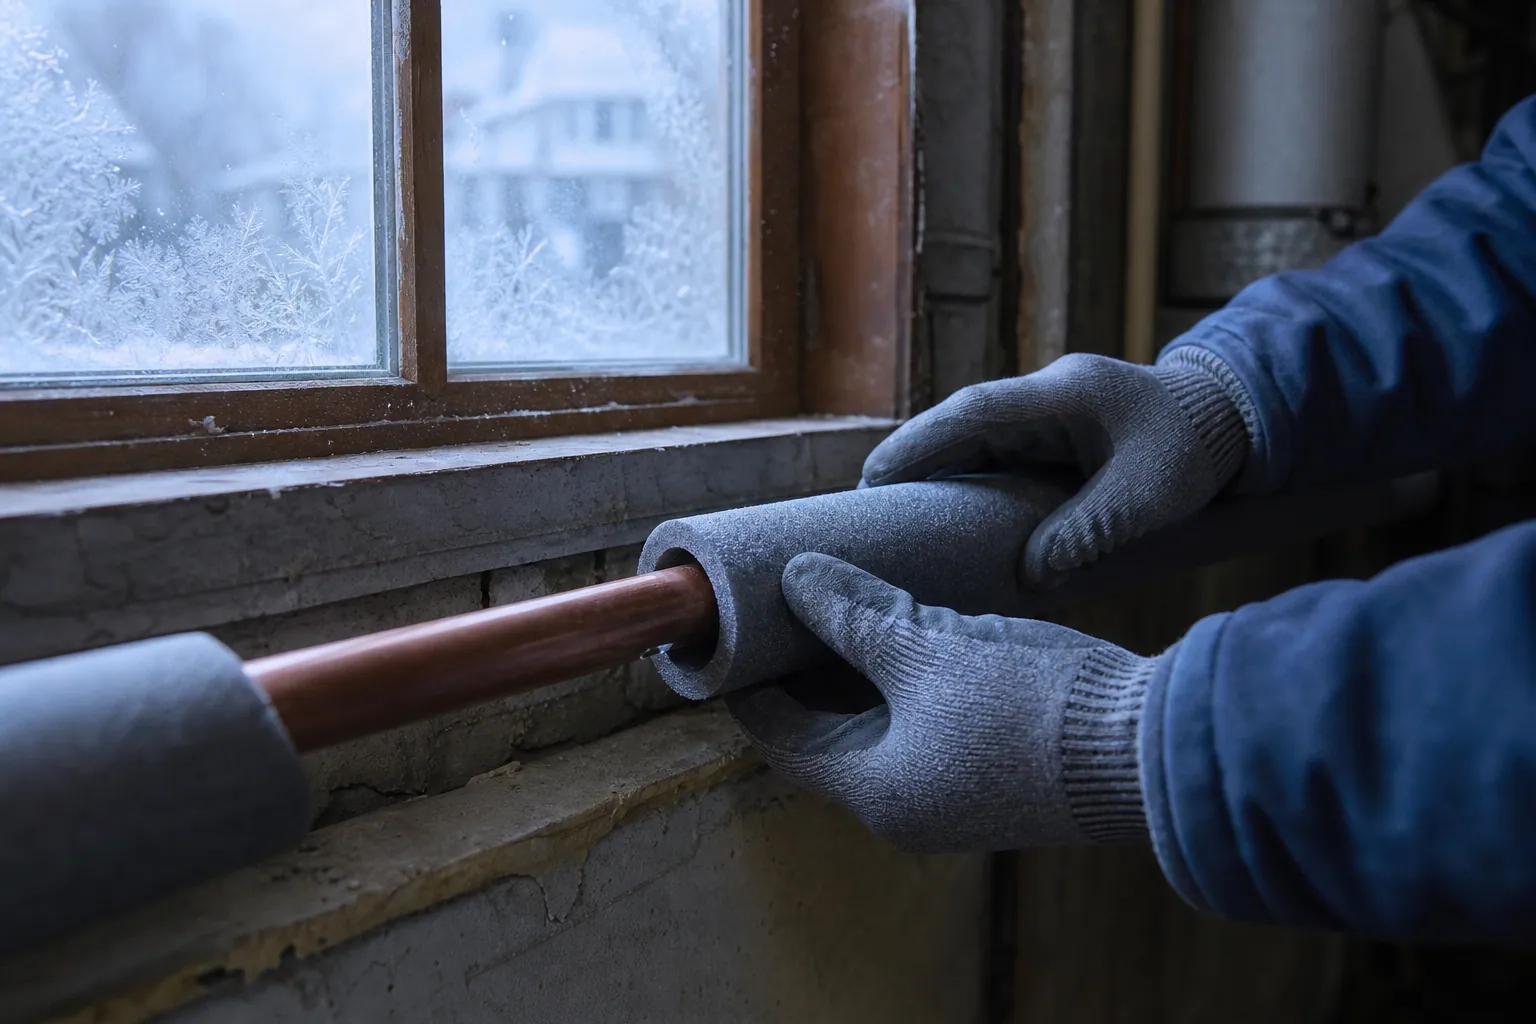
Foam pipe insulation sleeves are cheap — figure $2 to $4 per six-foot length — and they snap right over the pipe. Buy the size that matches your pipe diameter (1/2-inch and 3/4-inch cover most household lines) and seal the seams and joints with tape so there are no bare gaps. For a whole crawl space you might spend $40 to $80 in materials.
A couple of extra moves that matter more than people expect:
When a genuinely cold snap is coming — nights well below freezing, especially with wind — let a faucet drip. Moving water is much harder to freeze, and, just as important, a slightly open faucet relieves the pressure that actually bursts the pipe. That pressure relief is the real reason the trick works, not the tiny bit of warmth.
A few specifics so you do it right:
This is the step people skip, and it's the one that saves the house. If a pipe does let go, the difference between a mopped floor and a five-figure repair is how fast you get the water off. You do not want to be learning where the shut-off is at 2 a.m. with water coming through the ceiling.
Go find it today. The main shut-off valve is usually where the water line enters the house — near the water heater, in the basement or crawl space, in a utility closet, or in the garage on an exterior wall. It's either a lever (turn it a quarter turn) or a round wheel (turn it clockwise, righty-tighty, until it stops).
Two things worth doing while you're down there: make sure the valve actually turns — old gate valves seize up and can snap — and tell everyone in the house where it is. If yours is stuck or corroded, that's exactly the kind of job to have a licensed plumber replace before winter, along with pipe runs in finished walls or anything that's frozen on you before. Those are the parts where a mistake gets expensive; the hose bibs and foam sleeves you can absolutely handle yourself.
None of this is meant to scare you — it's meant to show you the math, because the math is lopsided. Winterizing a typical house is an afternoon and maybe $60 to $150 in materials.
Repairing the burst pipe itself is often the small part — a plumber might charge $150 to $500 to fix the failed section. The water damage is where it gets ugly. A single burst pipe can release hundreds of gallons an hour, and once that water is in your drywall, flooring, and insulation, you're into remediation, not repair.
Insurance industry figures put the average water-damage claim in the several-thousand-dollar range, and a bad one — soaked hardwood, ruined cabinets, mold that sets in behind a wall — runs $10,000 to $20,000 or more. Compare that to a $3 faucet cover and a Saturday afternoon, and the case makes itself.
Run the checklist before your first hard freeze: drain and cover the hose bibs, insulate the exposed lines, keep the drip trick in your back pocket for the cold nights, and know exactly where your main shut-off is. Do that, and freeze season becomes a non-event.